header background

Use Cases for Visual Quality Control with UNITY

Exploring Real-World Application

Explore the endless possibilities of SANEZOO's cutting-edge technologies, designed to revolutionize various industries.

From automotive manufacturing to aerospace, our advanced solutions redefine precision, efficiency, and quality in diverse applications. Discover how our innovative products elevate production lines, enhance quality control, and automate complex inspection tasks with unparalleled accuracy and speed.

Unleash the power of SANEZOO solutions to optimize your manufacturing processes and redefine industry standards.

Use Cases for Visual Quality Control with UNITY

Use cases for visual inspection with unity

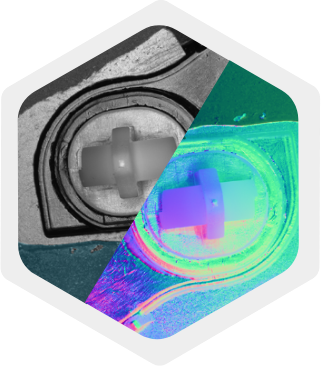
  • Milled Surface Inspection

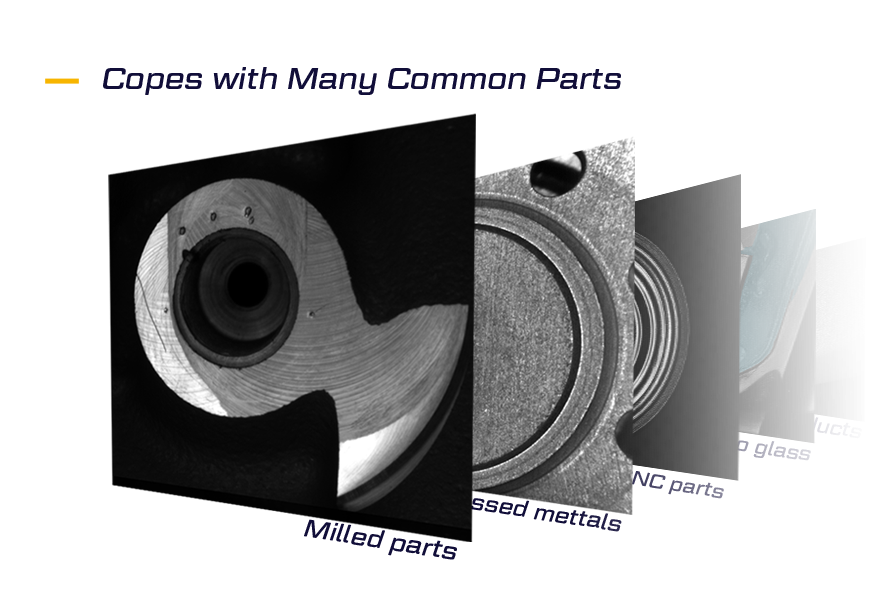
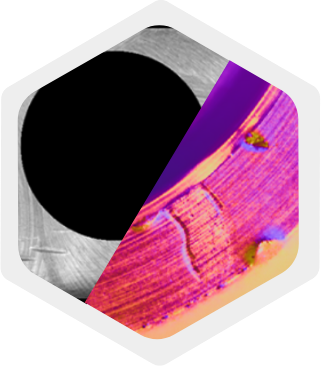
    Achieving consistent and accurate control of these surfaces requires overcoming the difficulties of illuminating irregular contours and effectively capturing the fine details that are often affected by reflections, shadows and surface topography. The development of reliable inspection methods for milled surfaces requires innovative techniques that mitigate these complexities and provide comprehensive evaluation without compromising accuracy.

    menuButton About Milled Surface Inspection

    picture
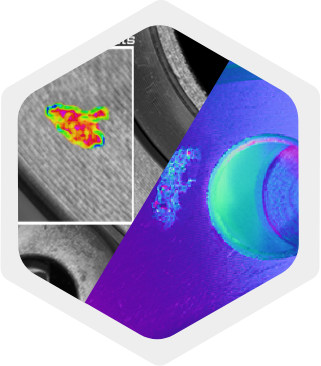
  • Pressed Metal Inspection

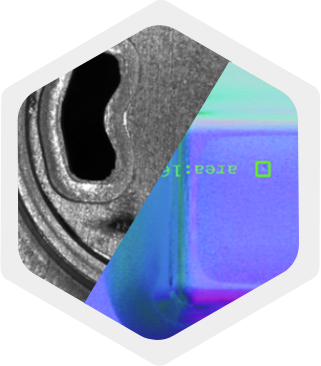
    Achieving accurate quality control of these surfaces requires methods to distinguish surface irregularities from the intended structural elements and to assess any deformations. The assessment of pressed metal surfaces is further complicated by their reflective nature, which causes problems in detecting defects due to glare and reflection. The complexity lies in detecting imperfections hidden in the geometry, which requires advanced imaging technologies capable of accurately identifying subtle defects.

    menuButton About Pressed Metal Inspection

    picture
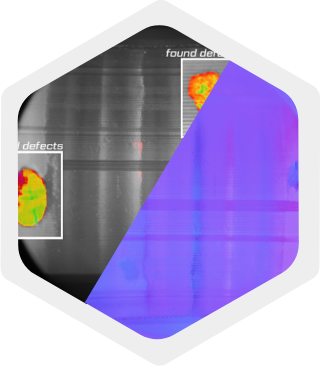
  • Paint & Coating Inspection

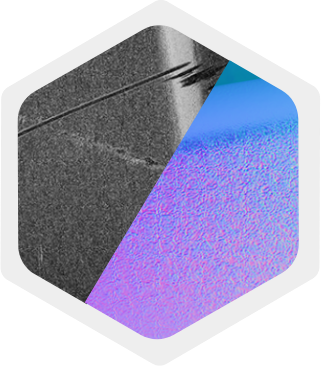
    The inspection of painted and coated surfaces is complex, as defects must be accurately identified while taking into account differences in the quality, colour and texture of the coating. The inspection process has to cope with issues such as hidden defects within the coating, irregularities in application and environmental influences, which require specialised methods to ensure comprehensive defect detection despite these variables. In addition, reflective properties and different paint and coating textures add another layer of difficulty in accurately identifying defects.

    menuButton About Paint & Coating Inspection

    picture
  • Material Applied to Glass Inspection

    The inspection of materials applied to glass requires specialised inspection methods due to their transparency, which makes defects less visible. Problems include irregularities in thickness, embedded foreign particles, air pockets and wavy parts of the material. Manipulation of the colour spectrum through advanced camera technology helps to highlight imperfections that would otherwise be difficult to discern, providing comprehensive defect detection on transparent surfaces.

    menuButton About Material Applied to Glass Inspection

    picture
  • CNC Turning Inspection

    Inspecting CNC turned surfaces requires a specialized approach due to their reflective cylindrical exteriors that create challenging reflections and complicate defect detection. The complex shape of these surfaces requires image capture from multiple angles to accurately cover the entire surface. Advanced camera systems are used to eliminate reflections and shadows, enabling accurate detection of defects, especially when identifying imperfections such as porosity, scuffs, scratches or dents. This innovative technology ensures careful identification of defects and contributes to consistent quality control in production.


    menuButton About CNC Turning Inspection

    picture
  • Internal Surface Inspection

    Inspecting internal surfaces presents unique challenges due to limited space, light constraints and complex part geometry. The deployment of miniaturized boroscopes enables detailed inspection and identification of defects such as irregularities, scratches or hidden imperfections within complex parts. These images create a comprehensive map of the internal surface, facilitating accurate defect detection and increasing the efficiency of quality control processes in manufacturing.

    menuButton About Internal Surface Inspection

    picture

Use cases for Picking & feeding with grasp

Use cases for Picking & feeding with grasp Use cases for Picking & feeding with grasp

menuButton About GRASP Use Cases

For further details on our wide array of applications and how our solutions can enhance various industries, feel free to get in touch with us. We're here to support your needs!

menuButton Contact Us