header background

Pressed Metal Inspection


Solution for Complex and Shiny Pressed Metal Components

Inspecting pressed metal components is vital in ensuring product quality, particularly in the automotive and appliance manufacturing industries. However, it is not without its difficulties. The intricacies of pressed metal parts, which often feature complex shapes and fine details, pose challenges in terms of consistent quality control.

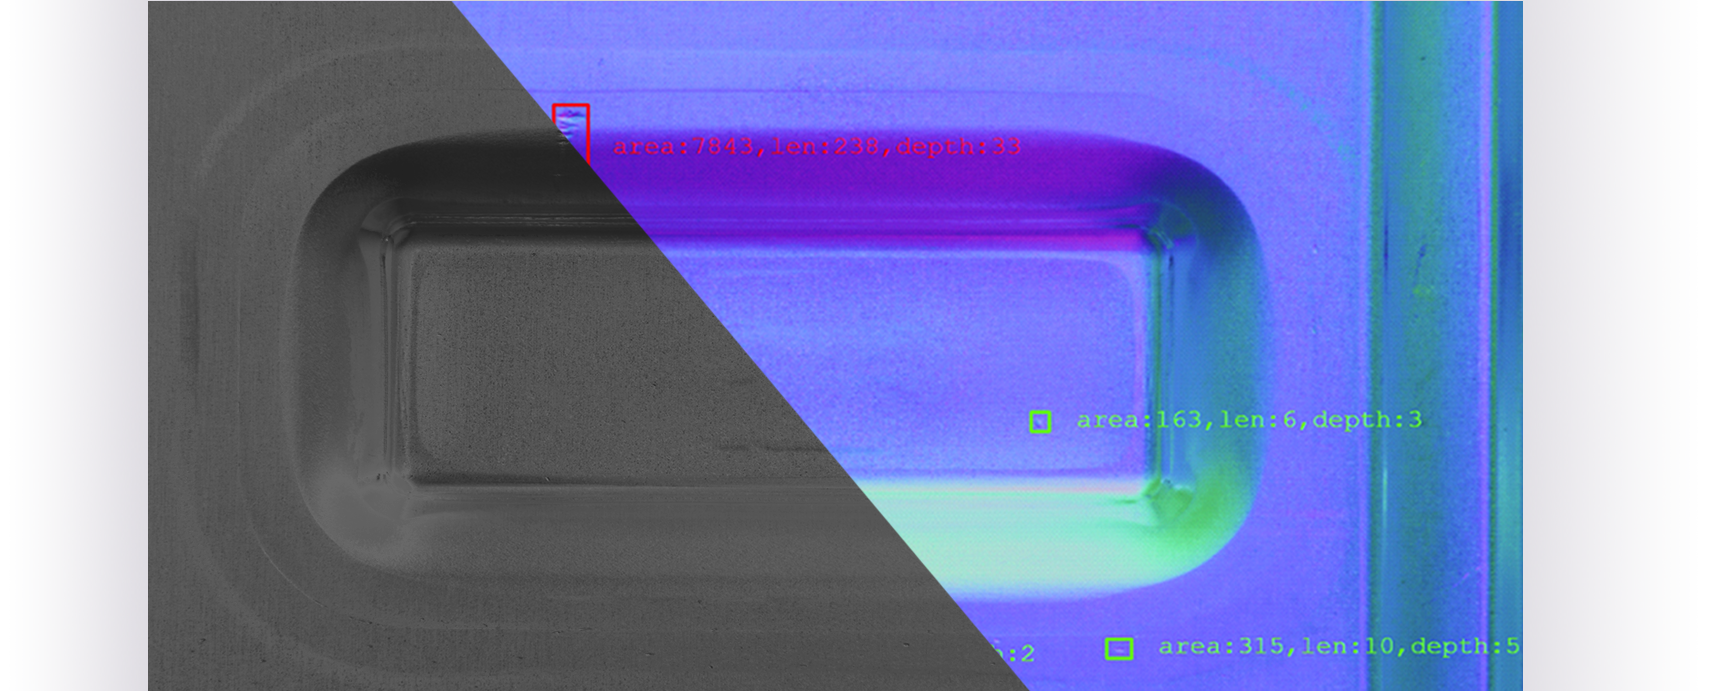
Sanezoo UNITY employs cutting-edge imaging technology and sophisticated algorithms to identify a range of common defects that might otherwise go unnoticed. Whether it's imperfections like scratches, dents, inclusions, or more subtle issues, SANEZOO UNITY ensures that even the smallest defects are pinpointed with exceptional precision.

picture

3D Surface Analysis for precise Inspection of pressed Metals

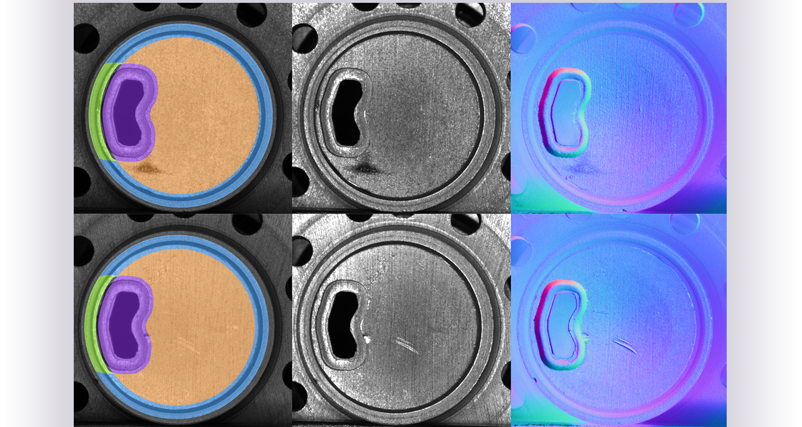
When inspecting pressed metals, it is important not only to look for surface imperfections but also to accurately consider the desired size and shape of the selected part due to possible warping.

Using 3D surface analysis, we go beyond traditional inspection, creating a detailed three-dimensional representation of the metal part's surface to identify even the tiniest defects.


3D Surface Analysis for precise Inspection of pressed Metals

Pressed Metal Defect Detection: Possibilities and Process


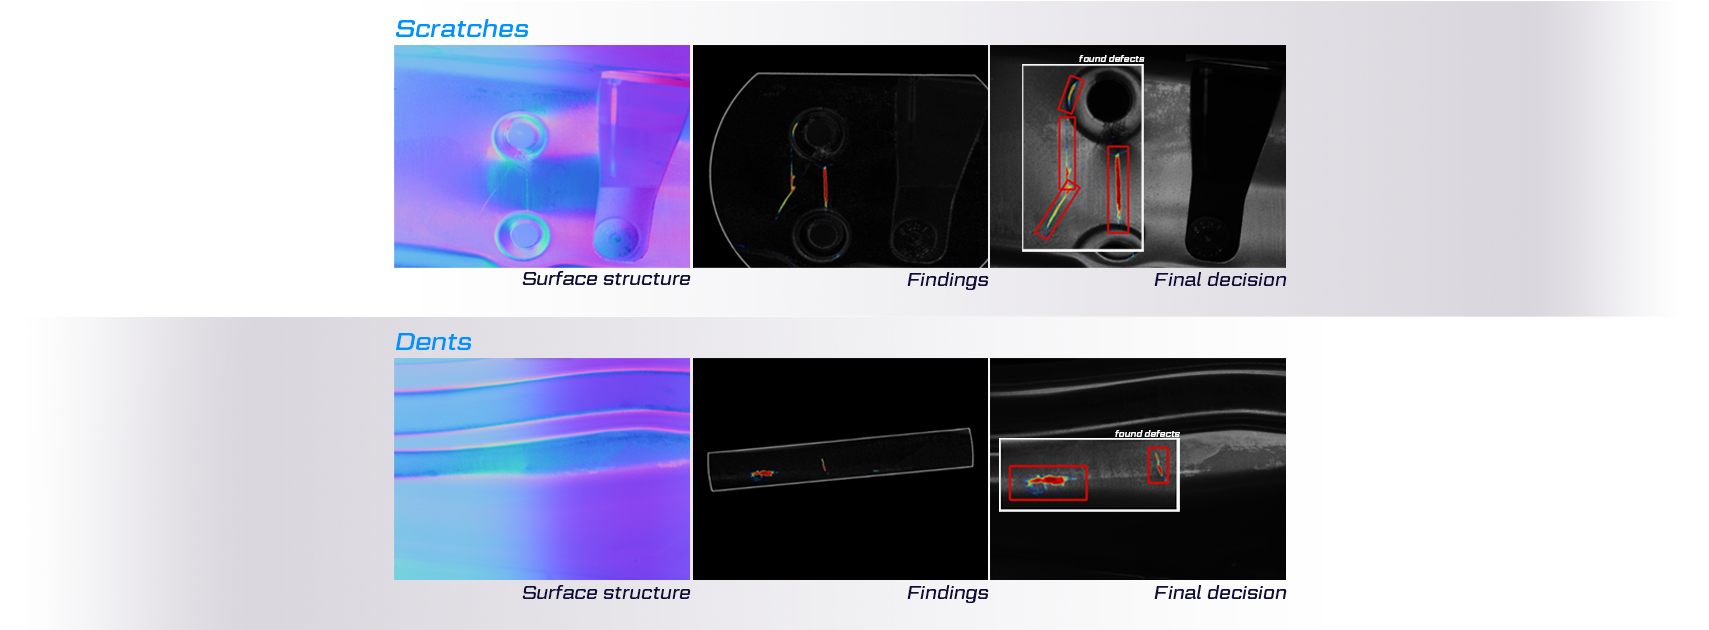
Scratches

Linear marks on the metal surface caused by abrasive contact.

Dents

Depressions or small indentations in the metal surface.

Dimensional Inaccuracy

Parts not meeting specified dimensions or having deviations.

Surface Contamination

Foreign particles or substances adhering to the metal surface.

Polishing Defects

Irregularities or uneven polishing on the surface.


Detecting defects on a shiny pressed metal part often involves capturing multiple layers of photos. This approach allows for comprehensive defect inspection by revealing subtle irregularities that may be obscured in a single image due to reflections and glare.

By combining and analyzing these different layers of photos, quality control processes can effectively identify imperfections like scratches, dents, or surface contamination.

This method enhances the precision and reliability of defect detection on shiny pressed metal surfaces, ensuring that the final product meets stringent quality standards.

Examples of defects detected on pressed metal parts.

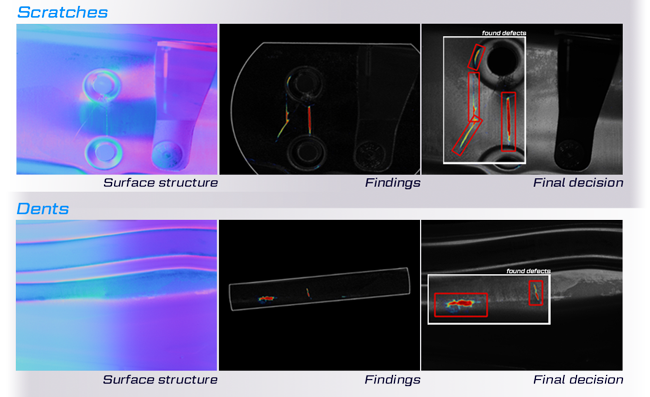
Examples of defects detected on pressed metal parts. Examples of defects detected on pressed metal parts.

For further details on our wide array of applications and how our solutions can enhance various industries, feel free to get in touch with us. We're here to support your needs!

menuButton Contact Us