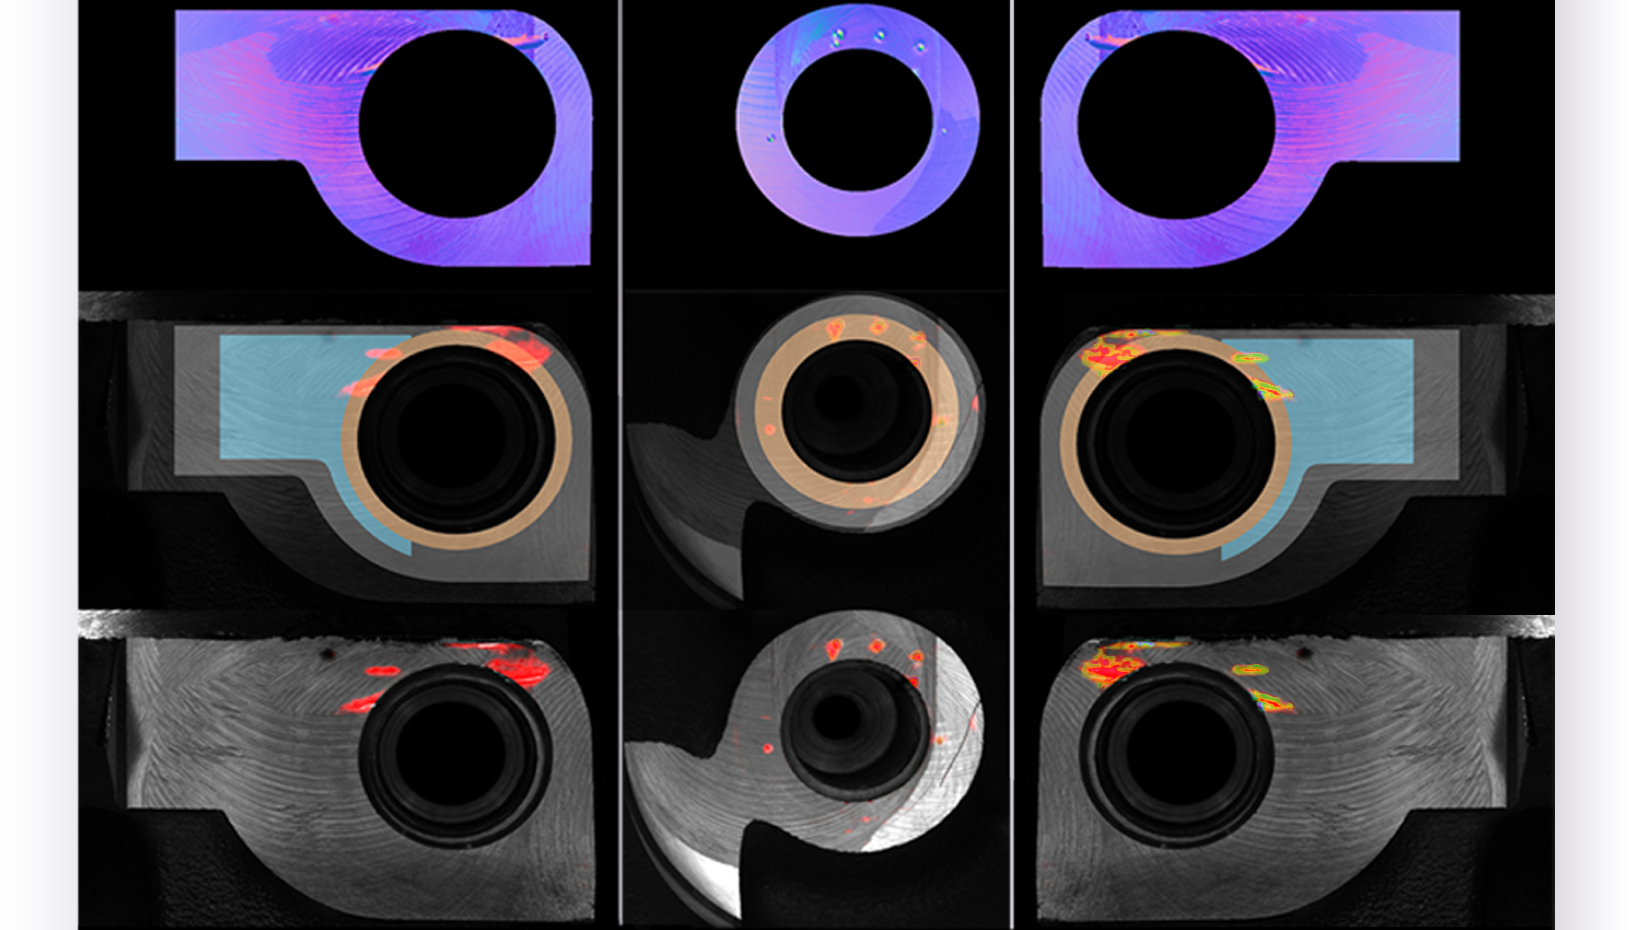
Easily Distinguishes Milling Marks from Surface Defects
Inspecting milled surfaces presents a critical quality control challenge in manufacturing. The intricacies of this process make it challenging to ensure precision and adherence to specifications.
Enhancing Inspection precision with Multi-Layer Analysis
This technique involves capturing multiple layers of images of milled components from various angles and lighting conditions. Each layer provides a distinct perspective of the part's surface. These images are then subjected to in-depth analysis, including 2D and 3D examination.


